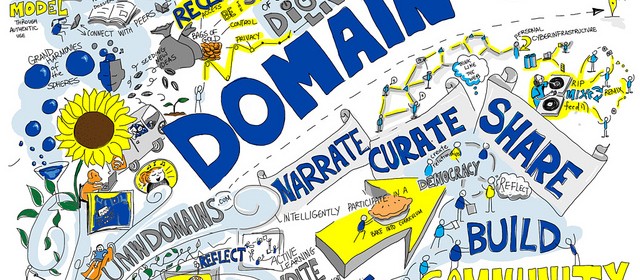
On choosing a domain name

"No Name" by Flickr user Patrick

No Name” by Flickr user Patrick

The preference is for your domain to be some version of your name (i.e., janestudent.net or davidmorgen.org or johndoe.com) but if you have a very common name you might have to be a little creative.

It is also perfectly acceptable for your domain name to be a short word or phrase that is easy to remember and spell, and which speaks to some interest of yours or an aspect of your character (i.e., my friend Audrey Watters publishes a site called hackeducation.com; Kin Lane spends his careers working with APIs and his domain is apievangelist.com; or one of my favorite art and design blogs is called thisiscolossal.com). If you’re going to choose a domain like this, make sure you think about it very carefully so you don’t show up on one of those lists of the most unfortunate domain names ever, like the design firm called Speed of Art that ended up with a domain name that sounds like it’s about flatulence in a swimsuit.

Do not include the word “emory” in your domain name. The university brand management office is quite emphatic about trying to keep domains including “emory” only for official university sites.

Do not include my class name or something specific about a course, or even your major, in your domain name.

How do I use HTML to format comments on this site (& others)?

"html tattoo" by Flickr user daniello

html tattoo” by Flickr user daniello

Different themes handle commenting differently, but many themes allow users to create links and other formatting while leaving comments, but only if they know how to do so manually with HTML code. There’s often no visual editor that lets you use HTML at the push of a button, the way there is when you’re in the dashboard composing posts and pages.

When you’re leaving a comment on a post on this site, there’s a line at the bottom that lists the most frequent types of HTML and formatting that you might want to use:

You may use these HTML tags and attributes: <a href=”” title=””> <abbr title=””> <acronym title=””> <blockquote cite=””> <cite> <code> <del datetime=””> <em> <i> <q cite=””> <strike> <strong>

For each of those codes, you just surround some text with the applicable HTML tags (i.e., you have an opening tag <em> (which adds emphasis), then the text you want to be emphasized, then you close the tag so that the browser knows when to stop emphasizing </em>).

Here are examples of how each of those codes work:

<a href=”http://eng101s15.davidmorgen.org “>course homepage</a>

<abbr title=”Hypertext Markup Language”>HTML</abbr>

<acronym title=”EWP”>Emory Writing Program</acronym>

<blockquote cite=”<cite><a href=”http://www.brainyquote.com/quotes/authors/l/ludwig_wittgenstein.html “> </cite> “>If people never did silly things nothing intelligent would ever get done.
Ludwig Wittgenstein<blockquote>

<cite><a href=”http://eng101s15.davidmorgen.org/ ” ;> </cite>

<code><a href=”” ;> </a> </code>

<del datetime=”YYYY-MM-DDThh:mm:ssTZD”>This text has been deleted from the comment and there’s a time stamp to indicate when, which is not visible but is available to screen readers.</del;>

<em>Emphatic!</em>

<i>Italics!</i>

<q cite=”http://eng101s15.davidmorgen.org/ “>The q cite tag allows you to provide a citation that does not show up visibly, but is available to screen readers behind the scene.</q>

<strike>This text has been struck through</strike>

<strong>Guiness for strength!</strong>

And here’s how each of those different effects will look on this site when the comment is published:

course homepage

HTML

Emory Writing Program

If people never did silly things nothing intelligent would ever get done.
Ludwig Wittgenstein

http://eng101s15.davidmorgen.org/

<a href=" "> </a>

This text has been deleted from the comment and there’s a time stamp to indicate when, which is not visible but is available to screen readers.

Emphatic!

Italics!

The q cite tag allows you to provide a citation that does not show up visibly, but is available to screen readers behind the scene.

This text has been struck through

Guiness for strength!

2: Critical Thinking and Reading Resulting in Writing

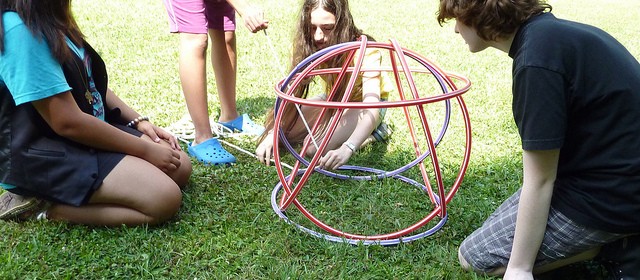
Photo of children trying a critical thinking exercise stacking hoops in complex shapes

As they undertake scholarly inquiry and produce their own arguments, students summarize, analyze, synthesize, and evaluate the ideas of others. Students may encounter the ideas of others in a variety of texts generated both inside and outside the classroom: print, visual, aural, oral, spatial.

Students learn accepted and ethical ways to integrate other texts into their work, rightly handling citation and adaptation.

Students use writing  as a critical thinking tool.

(image credit: “Create-Learning Team Building & Leadership. Camp Inquiry 2011. Teaching critical thinking and reflection skills (53)” by Flickr user “Michael Cardus)

3: Writing as Process

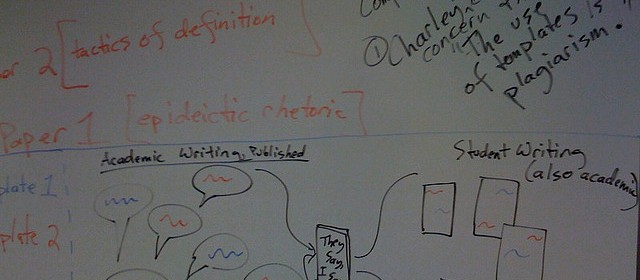
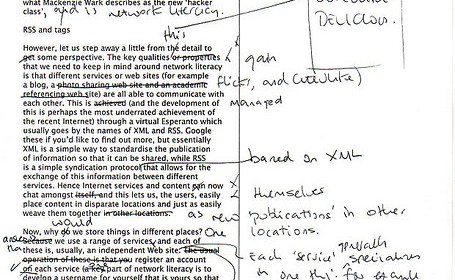
Screenshot of text marked up, showing revision processes

Students understand and practice writing as a process, recursively implementing strategies of research, drafting, revision, editing, and reflection.

In learning about their own writing process and doing guided reflective writing about that process, students learn to critique their own and others’ works. They also become aware that it usually takes multiple drafts to create and complete a successful text.

(image credit: “process writing” by Flickr user Adrian Miles)

4: Domain of One’s Own

Comic representation of Domain of One's Own

By the end of this course, students will:

  • acquire, design, and administer a web presence using free or open-source tools.
  • conduct inquiry, research, critique, and publication in electronic environments.
  • explain and practice digital citizenship, which includes utilizing the concepts of intellectual property (such as fair use and copyright).
  • reflect on learning as part of a deliberately constructed digital identity.

(image credit: “Domain of One’s Own” by Flickr user Giulia Forsyth)

Sunday Funnies 1: Badges

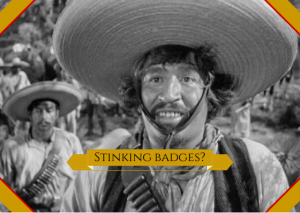
Stinking badges? badge

Due: January 20

(Note that these Sunday Funnies assignments will normally be due on Sundays. However, given that we’ve just started and Monday is a holiday, I’m giving you until Tuesday to make your badge and get your course subdomain published.)

First, read this Domain Documentation page on creating your own badges. We’ll talk some in class about Creative Commons licensed images.

Then create a badge for yourself. Start by choosing one or more of your own photos as the basis of the badge, drawing something yourself and scanning it, or finding one or more CC-licensed images on Flickr that you can modify. Make certain to keep a note for yourself of the URL for the photos you use if they are not your own.

Crop and otherwise edit the photo(s) in a photo editing application (like Photoshop or PicMonkey). You can create a layered or collage effect, if you’d like. Add your name on your badge in such a way that it’s legible. You might also include your domain URL, but that’s not required.

Your final badge should be 300 pixels wide by 250 pixels high.

When you’re done, load the badge into your Media Library and publish it to your site in a blog post. Include information and links in the post about the source(s) for images included in your badge.

Write a brief paragraph about why you chose those images, what aspects of yourself and your interests are represented in your badge, and/or what difficulties you faced in creating the badge.

1 32 33 34