Due: January 20
(Note that these Sunday Funnies assignments will normally be due on Sundays. However, given that we’ve just started and Monday is a holiday, I’m giving you until Tuesday to make your badge and get your course subdomain published.)
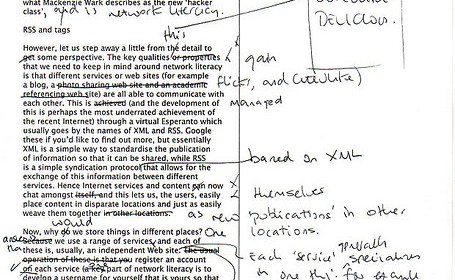
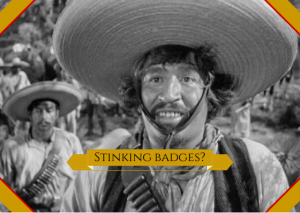
First, read this Domain Documentation page on creating your own badges. We’ll talk some in class about Creative Commons licensed images.
Then create a badge for yourself. Start by choosing one or more of your own photos as the basis of the badge, drawing something yourself and scanning it, or finding one or more CC-licensed images on Flickr that you can modify. Make certain to keep a note for yourself of the URL for the photos you use if they are not your own.
Crop and otherwise edit the photo(s) in a photo editing application (like Photoshop or PicMonkey). You can create a layered or collage effect, if you’d like. Add your name on your badge in such a way that it’s legible. You might also include your domain URL, but that’s not required.
Your final badge should be 300 pixels wide by 250 pixels high.
When you’re done, load the badge into your Media Library and publish it to your site in a blog post. Include information and links in the post about the source(s) for images included in your badge.
Write a brief paragraph about why you chose those images, what aspects of yourself and your interests are represented in your badge, and/or what difficulties you faced in creating the badge.